Clear Vinyl Technical Data

With Graphic Image Flooring, you can make a positive impression with lasting durability that is cost effective, so you can continue to promote your brand, as often as you need to with printed vinyl flooring. Stand out from the competition by thinking outside of the box in how you bring your message to market.
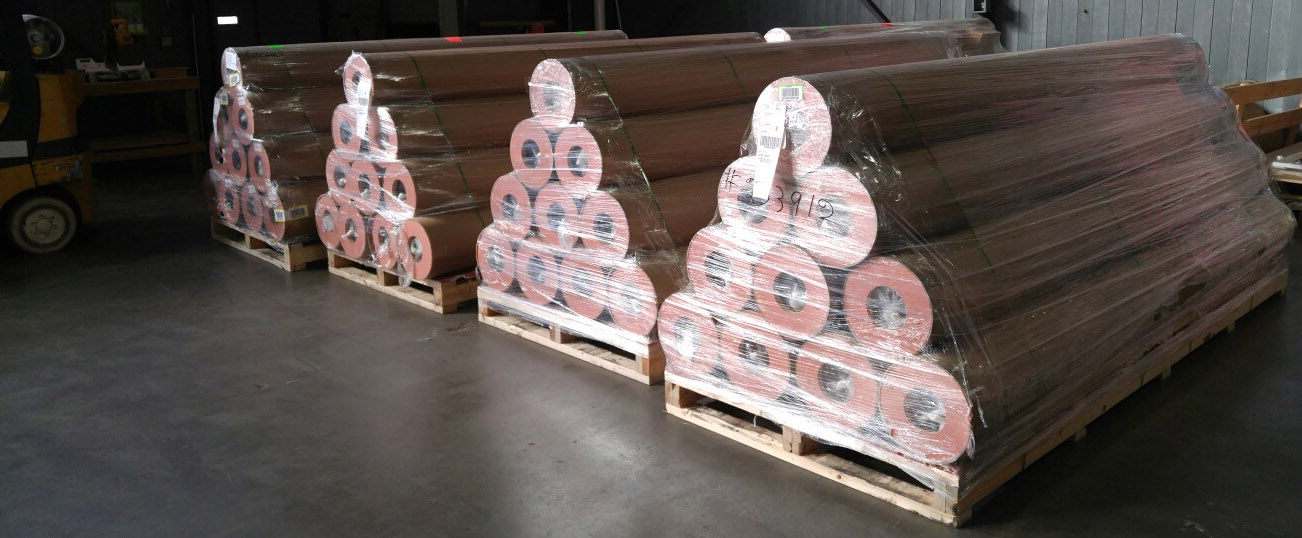
Our flooring is a 100% solid polyvinyl flooring solution without heavy fillers and foams. Vinyl is both lightweight, completely recyclable and at 1.9 mm thick provides the thickest wear-layer in the world and is sure to outlast and outperform any other polyvinyl product that is produced.
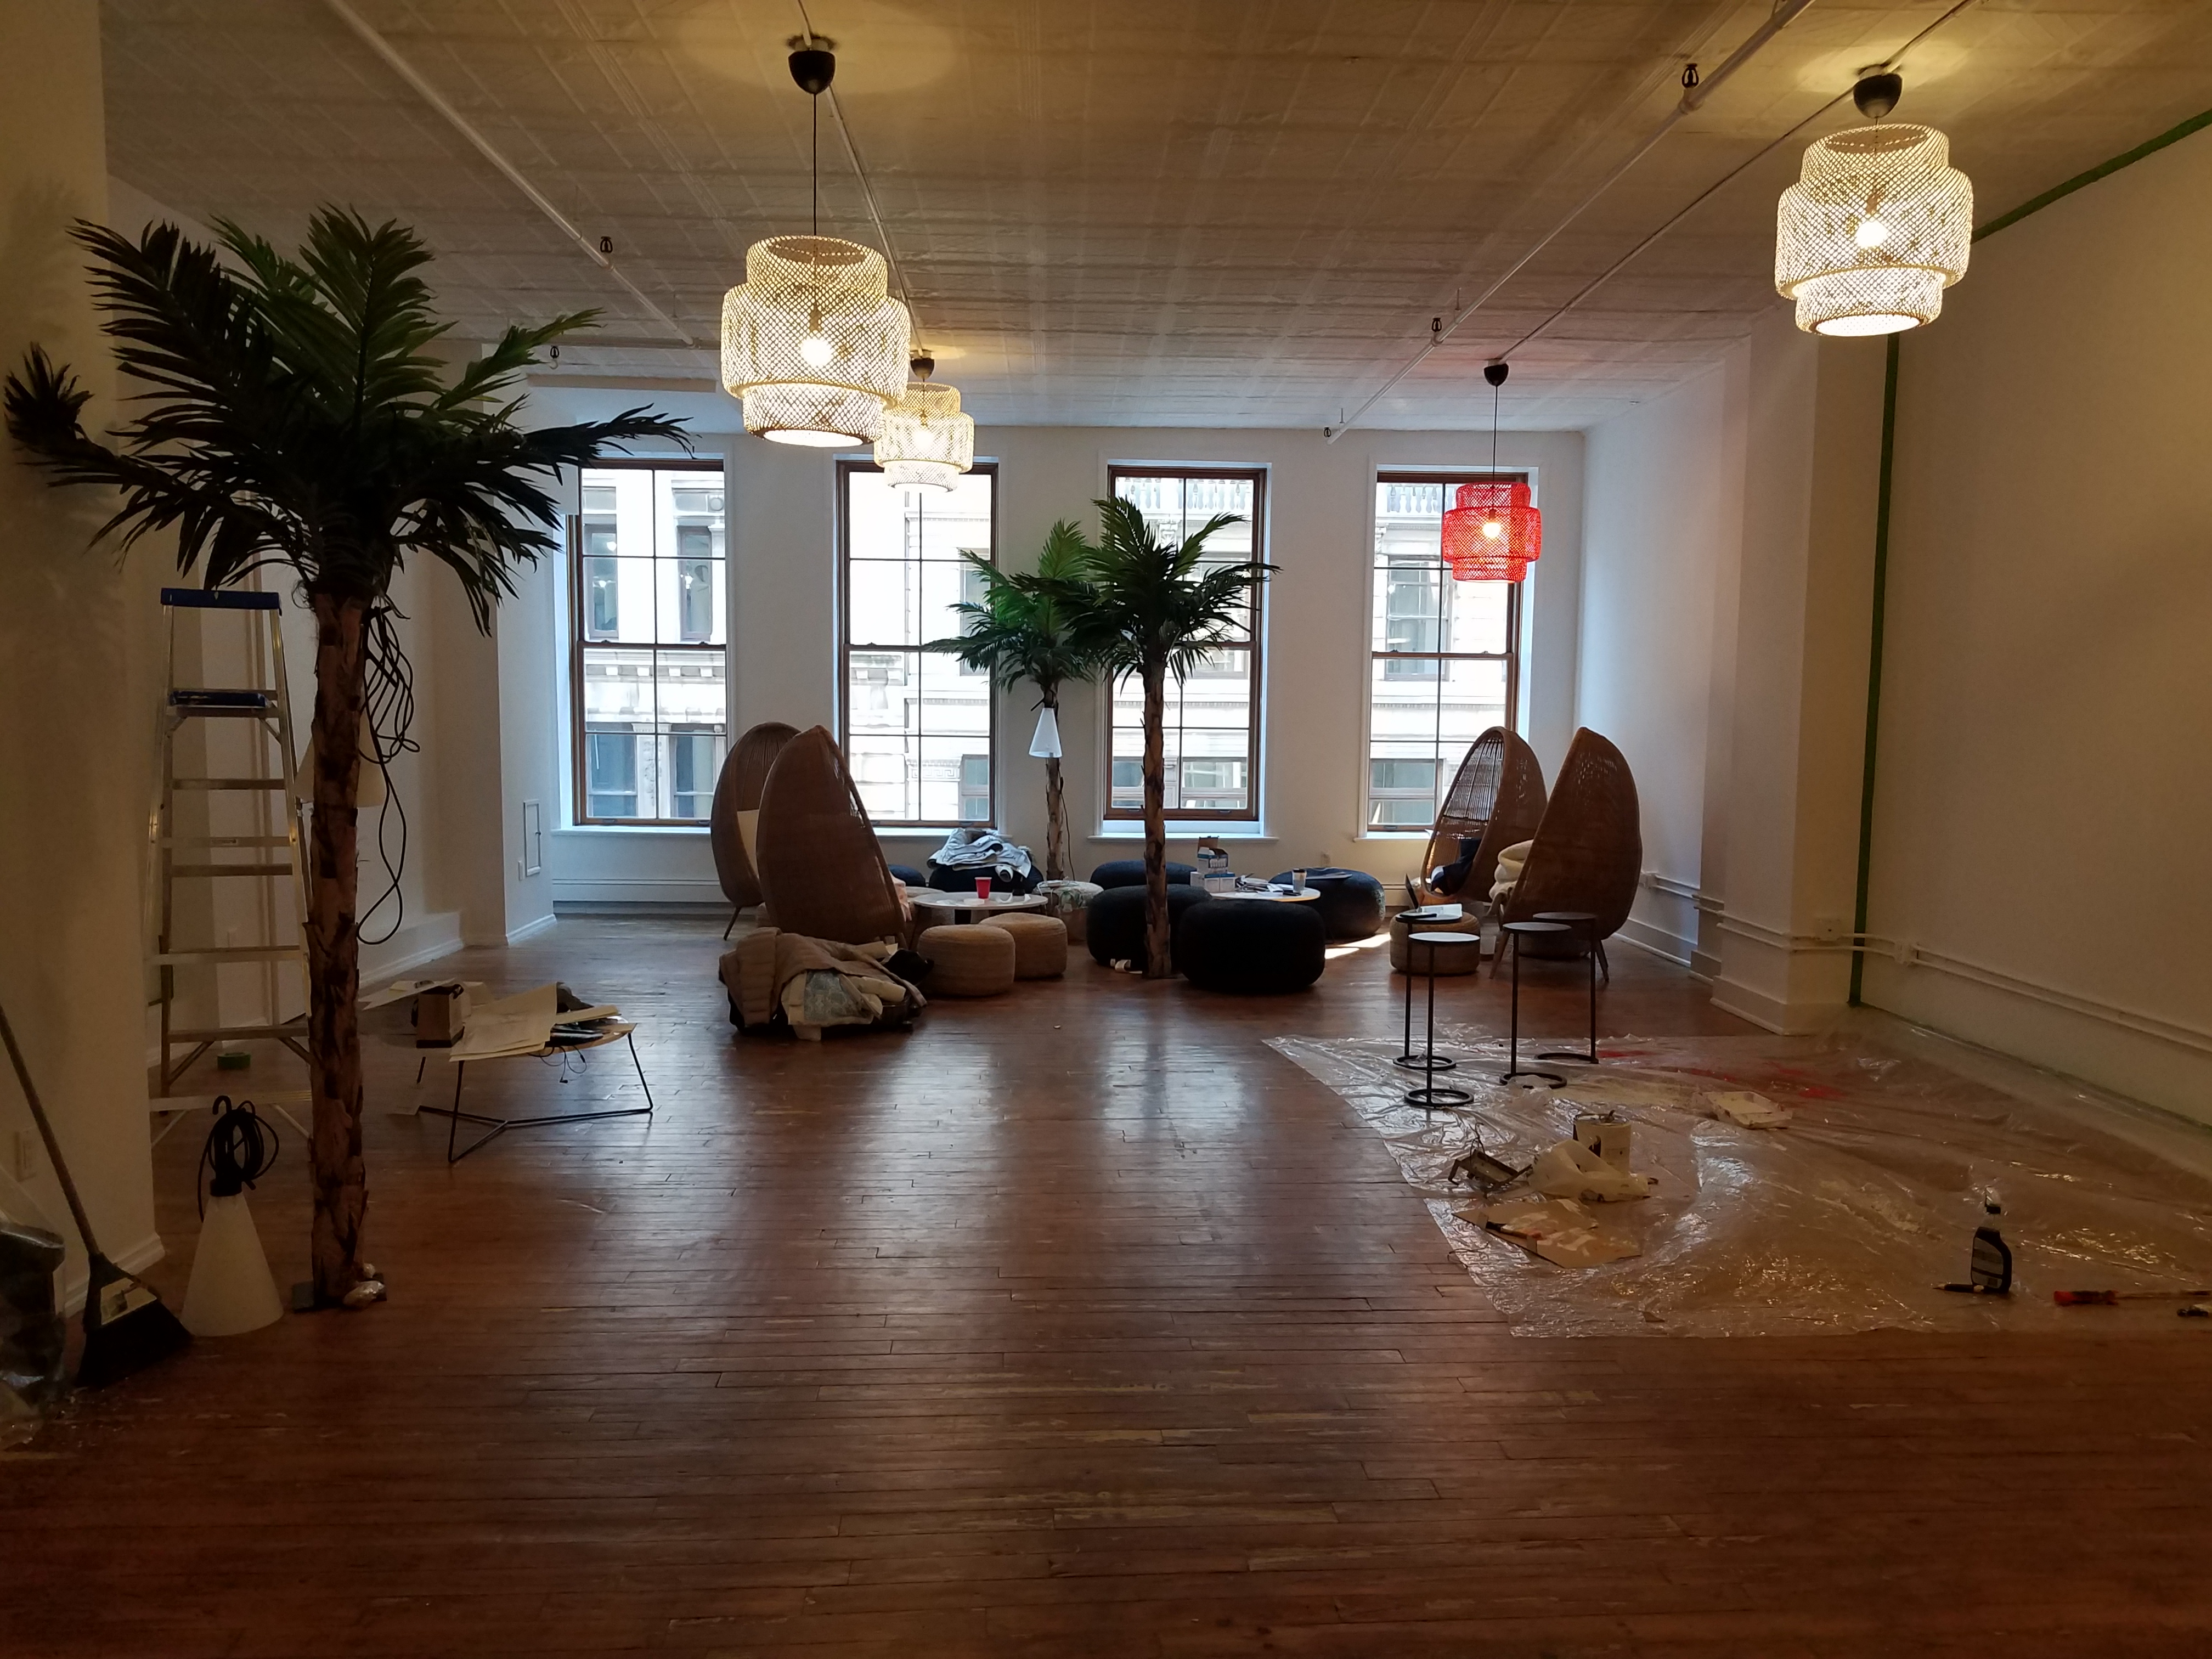
Designed and printed with sharp graphics at any size gives Graphic Image Flooring the advantage of fitting into any flooring environment. Complete a business office with a stunning stone floor. Integrate path-to-purchase strategies into a store to increase sales. Graphic Image Flooring is the perfect solution to provide a stimulating, visual experience of your brand.
Get the conversation going among your customers and leave them talking about you long after they have left.
Applications
- Retail/POP & Show Rooms
- Sports Arenas & Movie Theaters
- Trade Shows & Events
- Gymnasiums & Locker Rooms
- Museums & Stage
- TV Broadcasts & Television Shows
- Bars & Restaurants
- Free Floating Applications or Permanent Installations
- Use for High Traffic Indoor Areas - Thousands of footsteps per year!
- Manufactured in the USA

- Removal of all existing flooring is recommended whenever possible; however, in certain circumstances it may be possible to install over an existing floor.
- Vinyl flooring material may be installed over existing flooring surfaces such as terrazzo, epoxy, ceramic tile, quarry tile, metal floors, and in certain cases resilient floors and VCT, provided they are dry, well bonded, sound, smooth, and free of waxes, polishes and/or any other foreign materials.
- Floor must be clean, smooth, flat and dry. Remove all foreign substances such as wax, grease, dirt, construction marks and contaminants, and any substance or chemical that would interfere with a good bond.
- We recommends priming extremely porous floors with Taylor Envirotec 2025 Universal Primer™ to prevent over absorption of adhesives, dust containment, and to insure a better bond for the adhesive to the subfloor/underlayment.
WARNING: DO NOT USE MULTI-PURPOSE OR VCT ADHESIVE. ADHESIVE MUST BE PLASTICIZER MIGRATION RESISTANT.
- Flooring, adhesive and area to receive flooring must be maintained at a temperature of 65º to 95º F (18º to 35º C) & a relative humidity of 30% to 60% for 72 hours before, during, & after the installation.
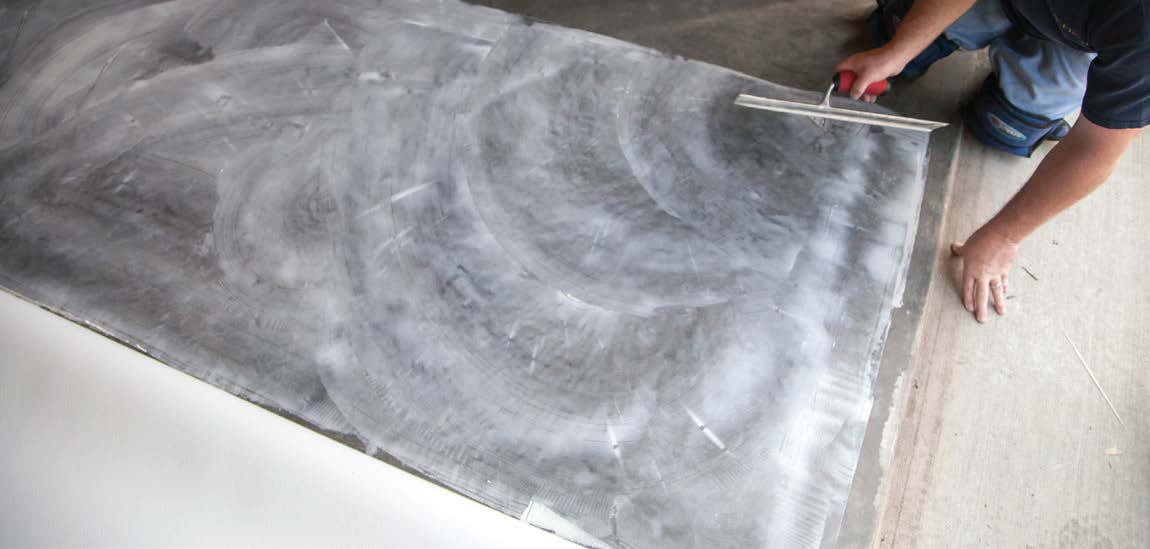
- When applying adhesive, use a notched trowel, size- 1/16 in. x 1/32 in. x 1/32 in.
- Spread adhesive covering 100% of the exposed sub floor, leaving no gaps or puddles.
- Taylor Resolute using Wet Set Method
- Taylor Resolute Adhesive recommended for permanent applications.
- Read and Follow Manufacturer Instructions
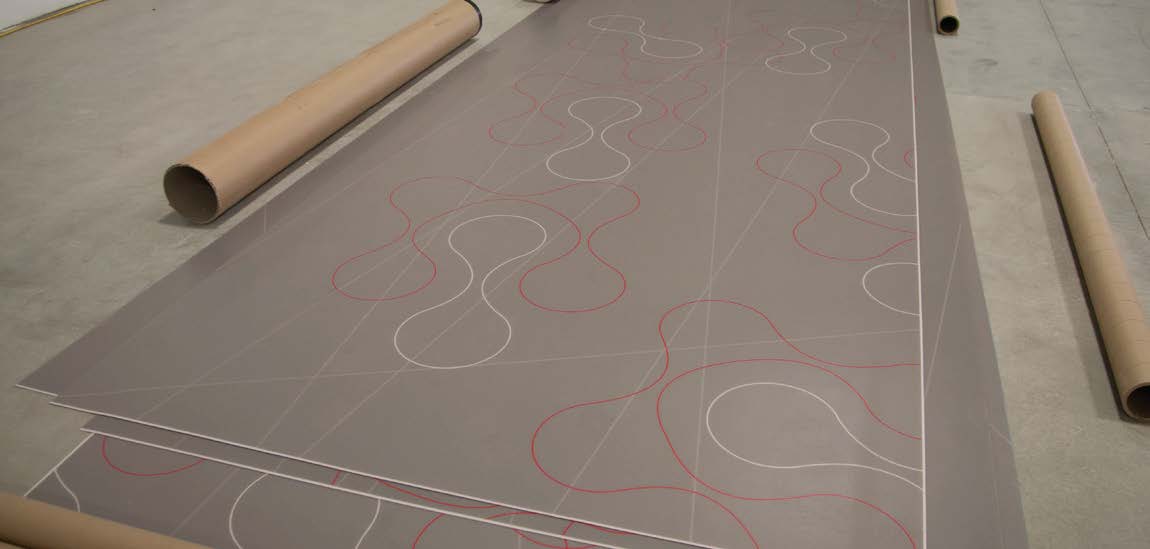
- Align the pattern providing adequate overlap, adhere the sheets to the designated dry zone.
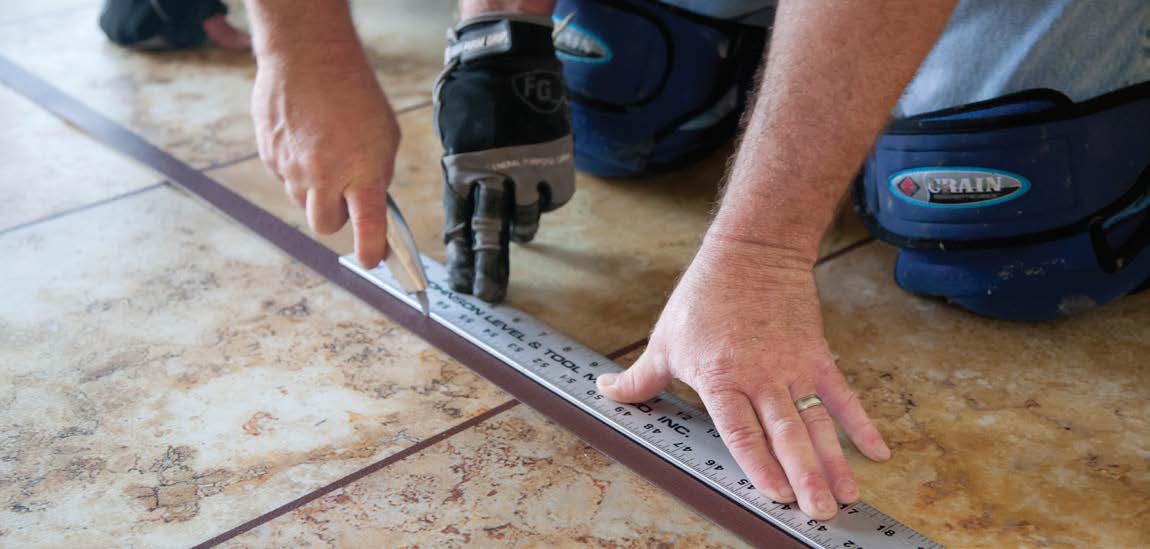
- Cut the seam with a utility knife with a new, sharp blade. Use a steel straightedge, cut at 90º angle.
- Do not lift knife out of floor during seam cutting.
- Remove the selvage and fold back the sheets to expose the dry zone.
- Apply adhesive with a properly notched trowel across the dry zone.
- Allow adhesive to develop tack and lay the sheet that was on the bottom first.
- Place masking tape over the seam and press it down firmly.
- Cut through the masking tape over the join between the two sheets using a straight knife
- Press the needle firmly into the seam & pull the tube along the joint. Control the flow of liquid.
- Wait about 10 minutes for the glue to bond & pull the tape off.
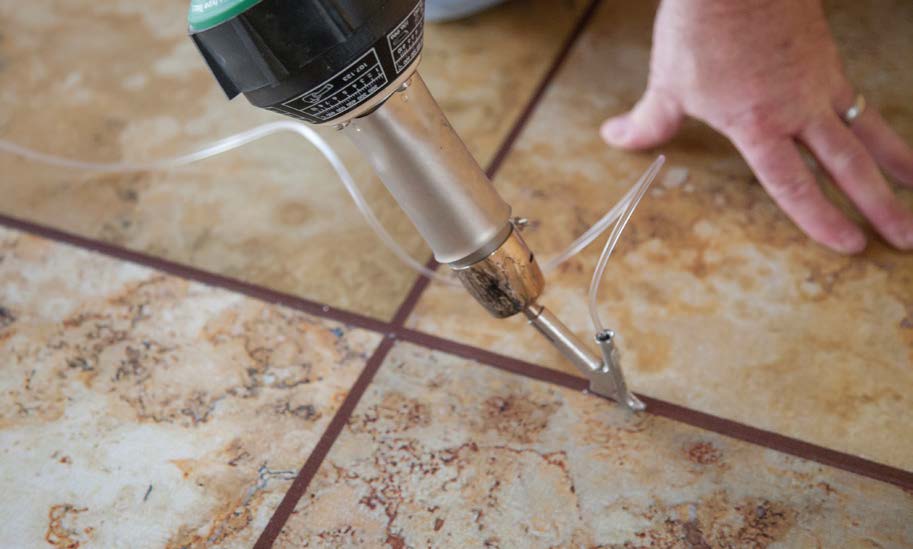
- Heat welding is the process of heat fusing two sheets of resilient sheet vinyl flooring together at the seam. A properly executed heat welded seam offers impervious, reinforced seams recommended for areas of high traffic, including those subjected to heavy rolling or wheeled loads, areas exposed to excessive moisture (frequent washing), healthcare applications (sanitation), laboratories, and clean rooms.
- Welding rod thread is 4 mm in diameter. Use of a larger nozzle will cause improper bonding or permanent damage to the flooring, including burning or glazing of the vinyl wear layer surface.
Testing (09 65 00 Resilient Sheet Vinyl)
- ANSI B101.3 (Slip Resistance)
- ASTM D3389 Abrasion Resistance (Durability)
- ASTM F1515 Light Stability Resistance (Color Fastness/Fade Resistance)
- ASTM D2859 Surface Flammability (Flame Resistance)
- ASTM E96 Water Vapor Transmission (Topical Moisture Penetration)
- ASTM F925 Standard Test Method for Resistance to Chemicals
Durability/Weathering
- Print media has a 3-year limited durability manufacture warranty. This warranty covers the print media material only. Imaging durability is ink related as to MFG specs.
- Graphic Image Flooring™ offers no expressed warranties on custom imaging.
- End Users must determine if outdoor durability is suitable for their end use.
- Extended exposure to water may cause temporary material clouding. Material should return to clear once dry but not guaranteed.
Top Coat Finish
- Vinyl floor material comes with a protective factory-applied water-based satin top coat.
- Top Coat provides additional protection against scuffs and scratches in high traffic environments, making it easier to clean and maintain.