In effort to assist you in creating your perfect floor design we provide you with this design tool.
Enter the size of your garage, retail space, display, or patio and then select from one of the many product types. Once you complete your design email it to us and we will review your design to ensure you have everything covered.
We will then also provide a quote and if you are ready to go accept payment and get your order rolling. The entire process from design to receipt of your floor is quick and easy


Simply click the link to open your floor designer.
Contact us with any questions.
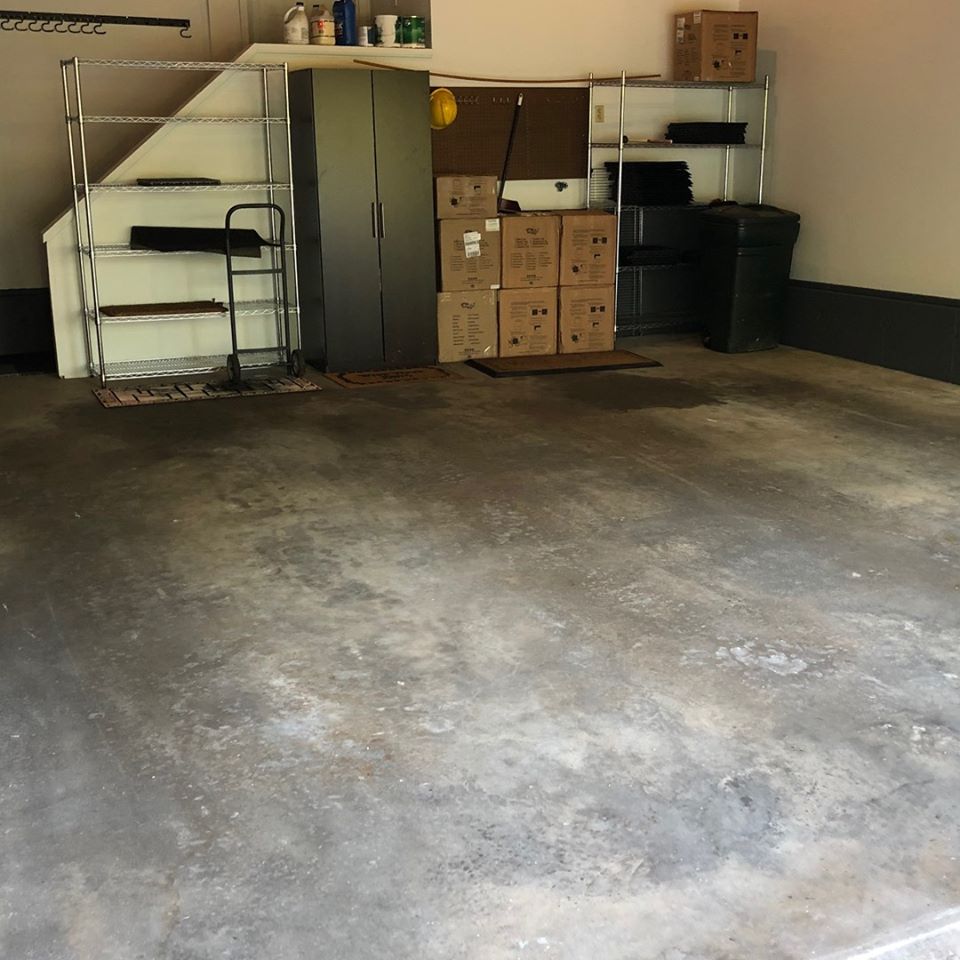
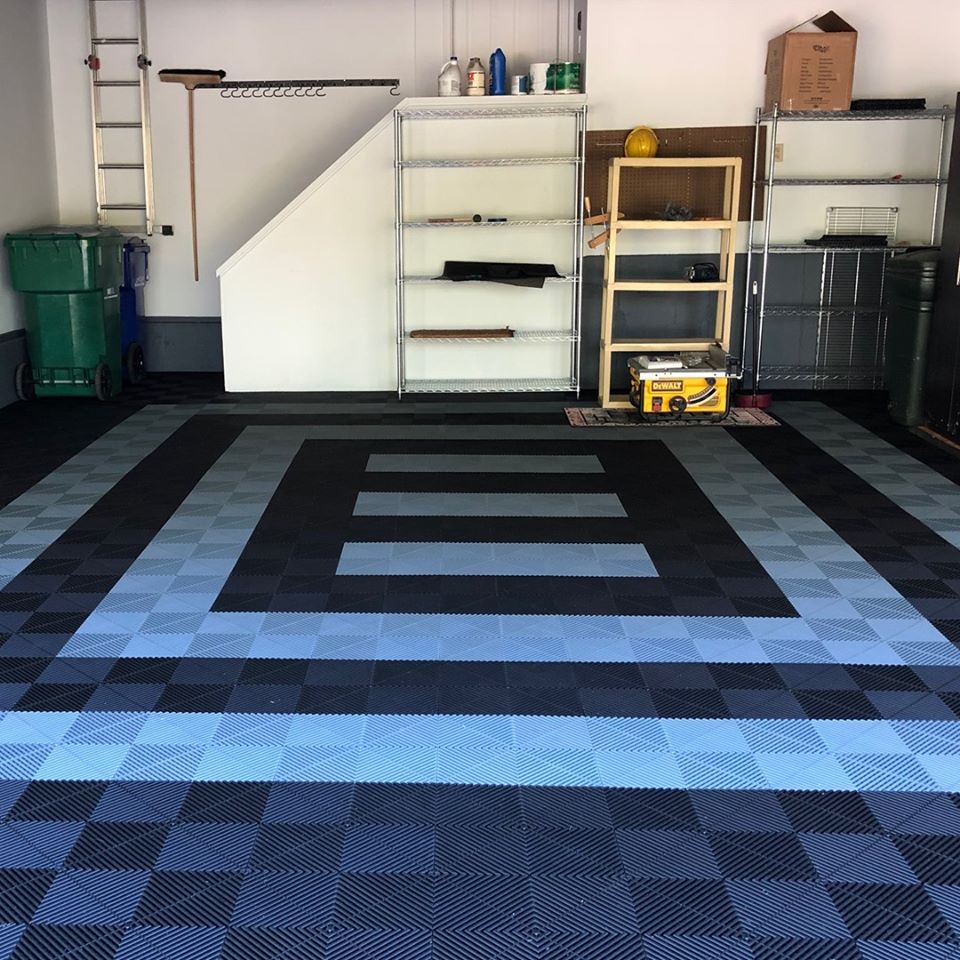
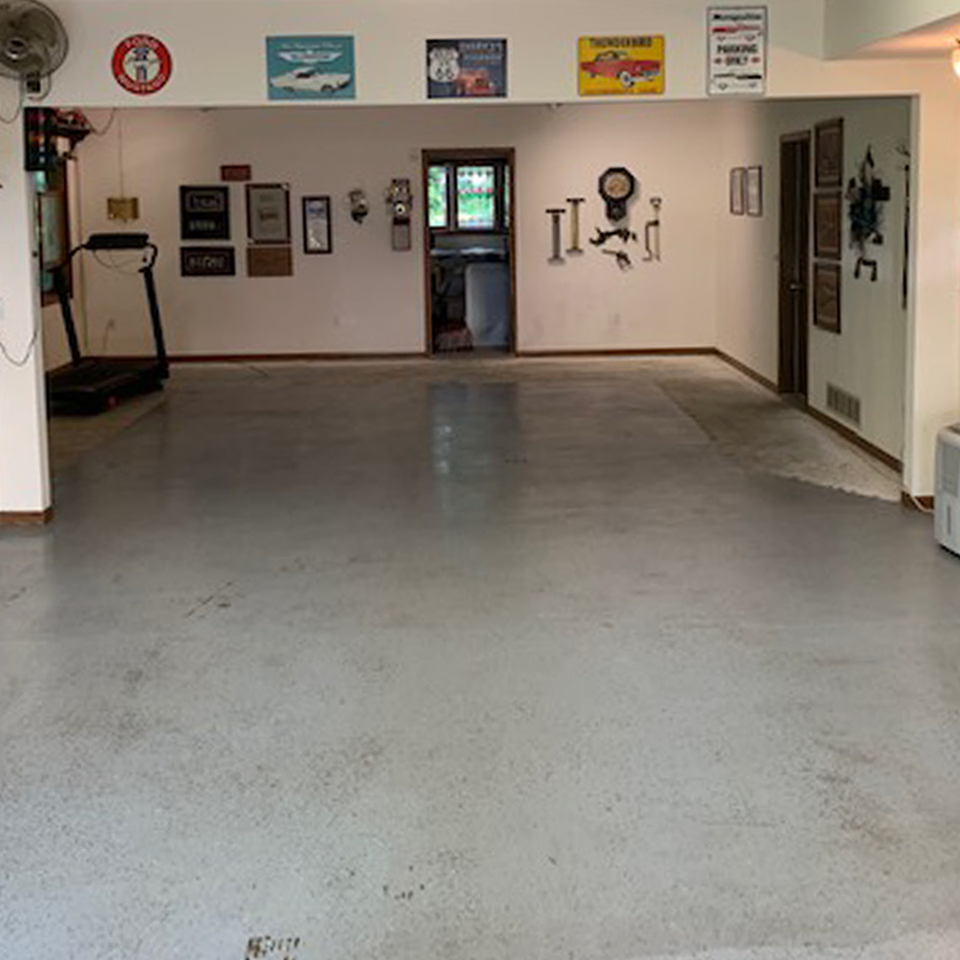
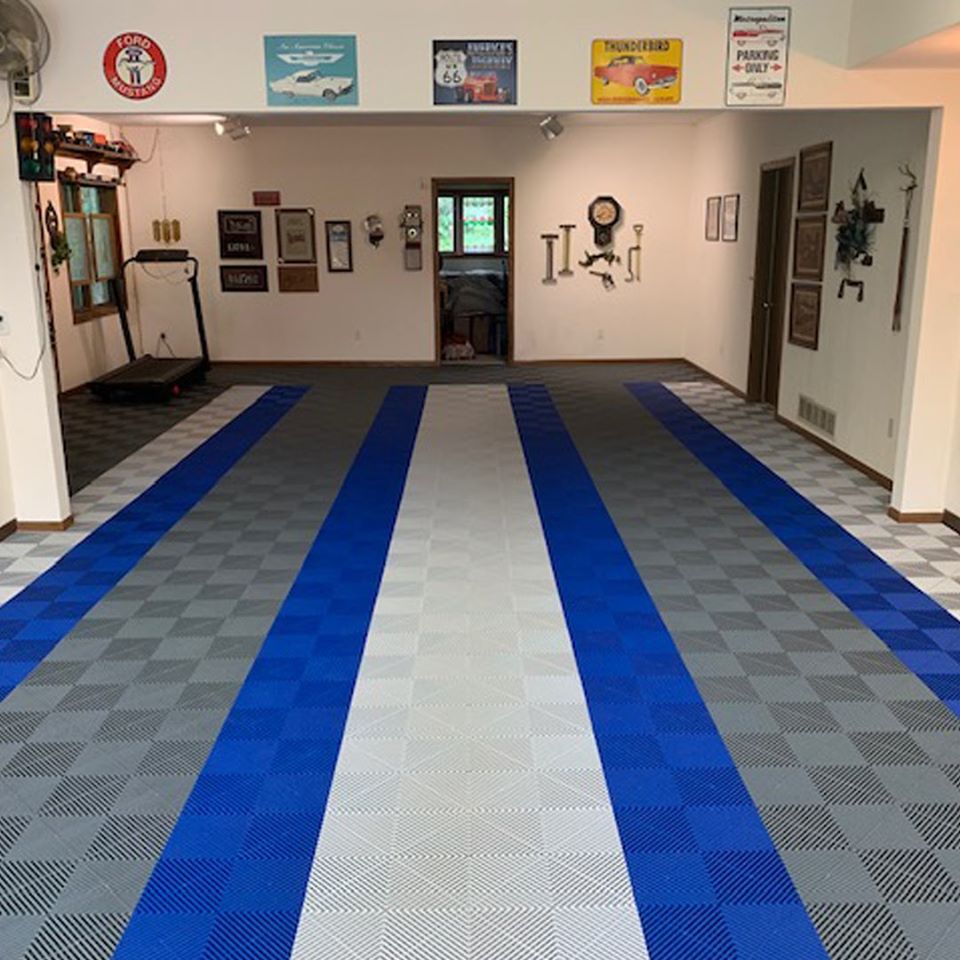
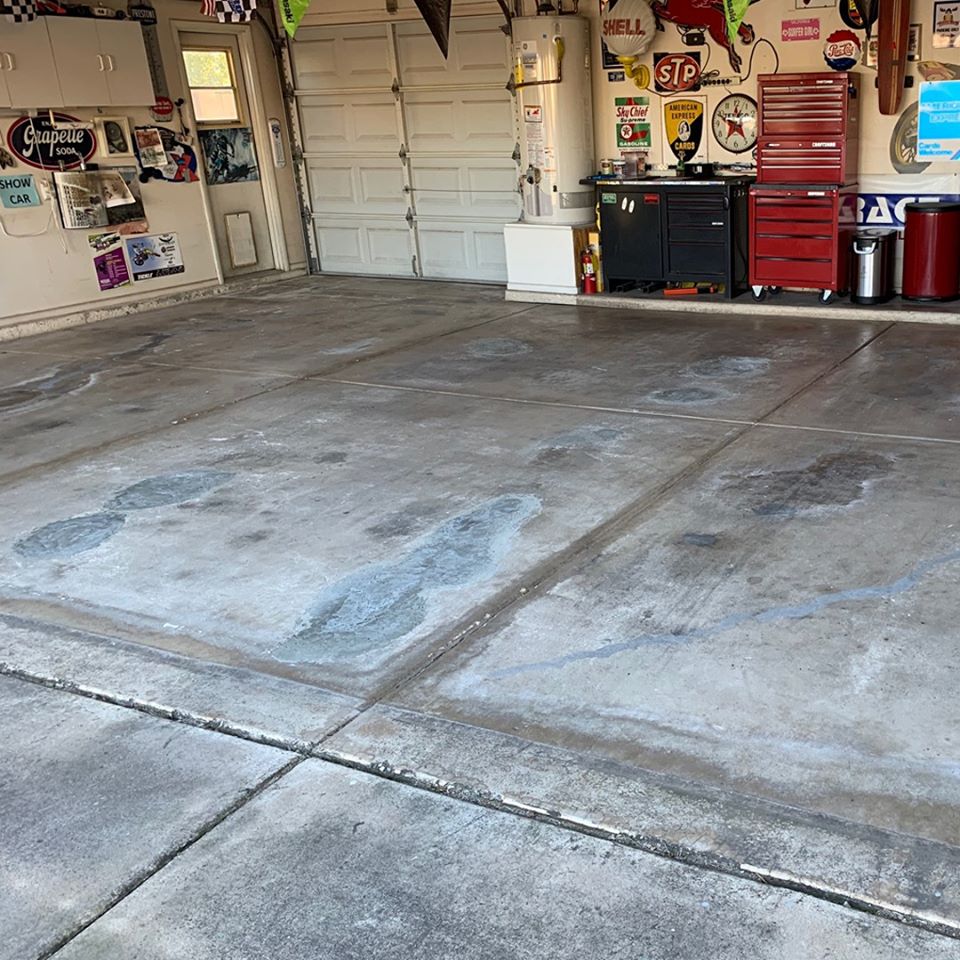
For your convenience we've provided some standard sizes that don't require tile cutting. This is perfect for Trade Show & Event Floors, Display Pads, Parking Pad or more.
TRADE SHOW & EVENT DISPLAY PADS
| Tile Dimensions | With Edges & Corners | Tiles | Edges (Looped/Pegged) | Corners | |
| 10' x 10' | 9’ 2” x 9’ 2” | 9’ 7” x 9’ 7” | 49 | 14/14 | 4 |
| 10' x 15' | 9’ 2” x 14’ 5” | 9’ 7” x 14’ 10” | 77 | 18/18 | 4 |
| 10' x 20' | 9’ 2” x 19’ 8” | 9’ 7” x 20’ 1” | 105 | 22/22 | 4 |
| 10' x 30' | 9’ 2” x 28’ 8” | 9’ 7” x 29’ 1” | 154 | 29/29 | 4 |
| 20' x 20' | 19’ 8” x 19’ 8” | 20’ 1” x 20’ 1” | 225 | 30/30 | 4 |
Display pads often used for Trade Show and Event flooring as well as Retail displays do not require any cutting. Typical installation time is between 15 - 60 minutes.
PARKING PADS
| Tile Dimensions | With Edges & Corners | Tiles | Edges (Looped/Pegged) | Corners | |
| Single Car | 7’ 9” x 17’ 0” | 8’ 2” x 17’ 5” | 78 | 19/19 | 4 |
| Double Car | 17’ 0” x 17’ 0” | 17’ 5” x 17’ 5” | 156 | 26/26 | 4 |
Parking pads typically install in approximately 15-20 minutes and do not require any cutting.
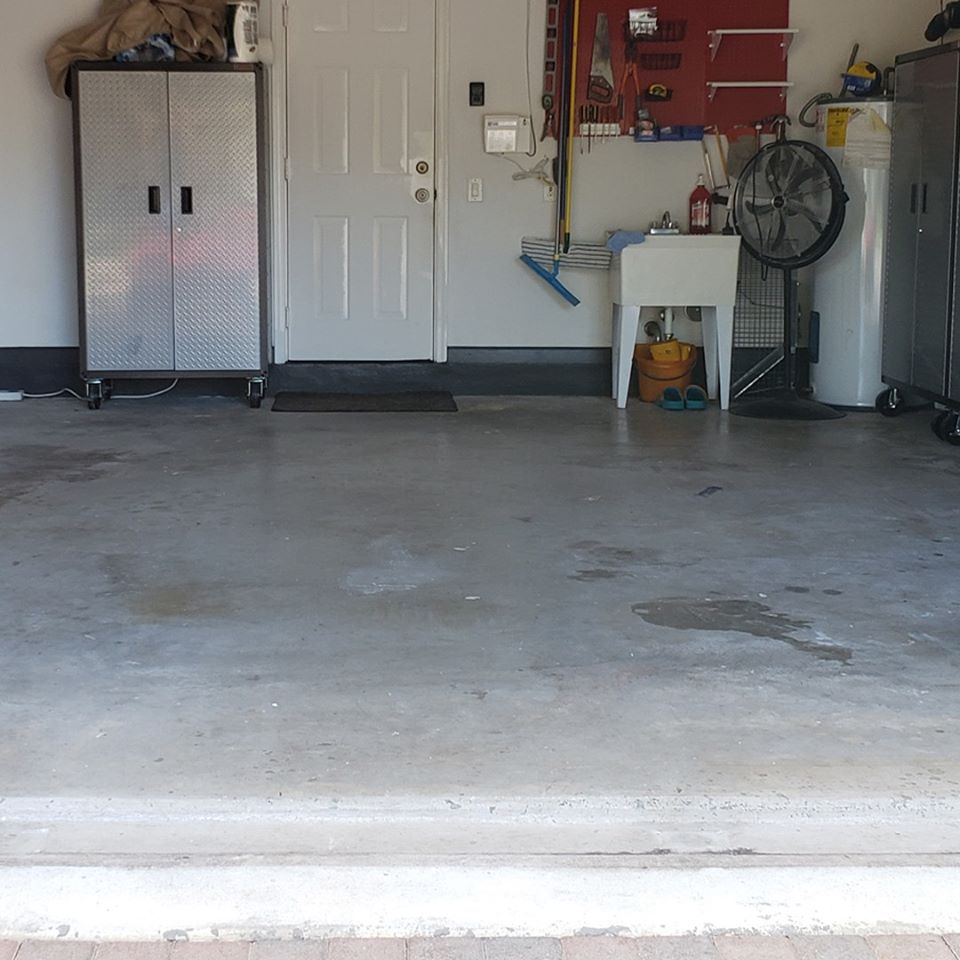
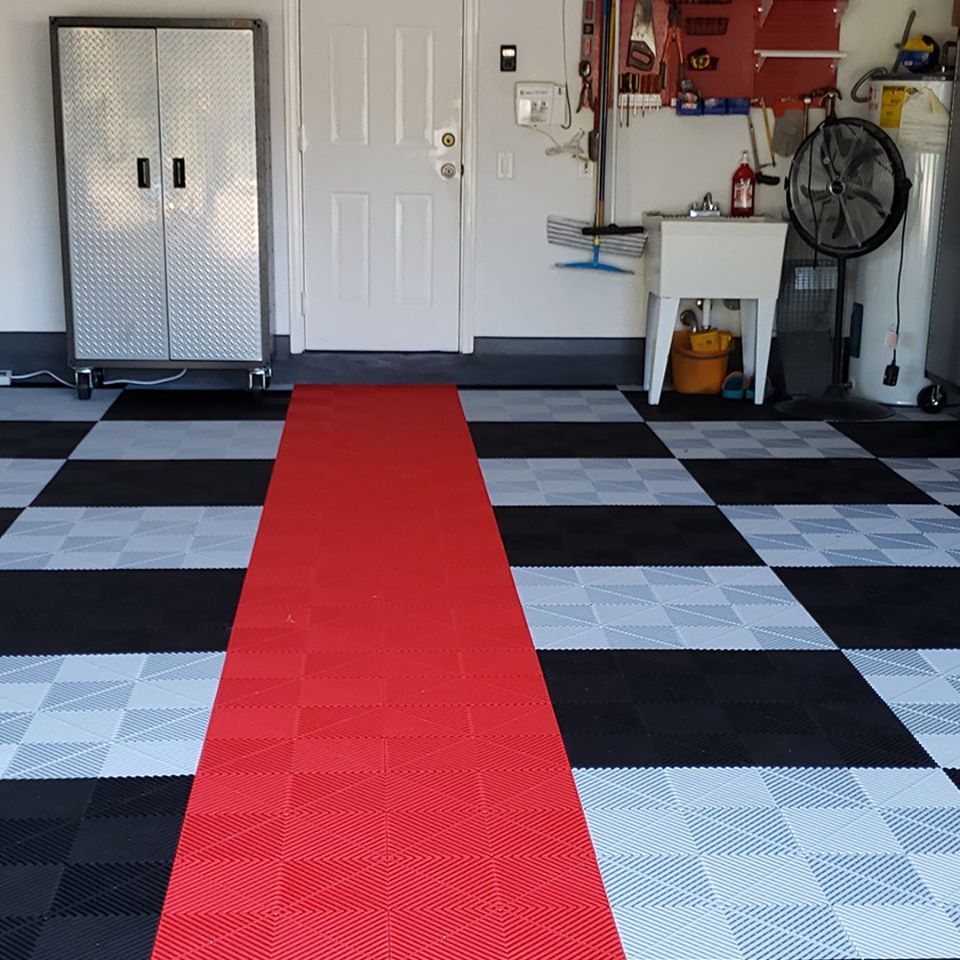
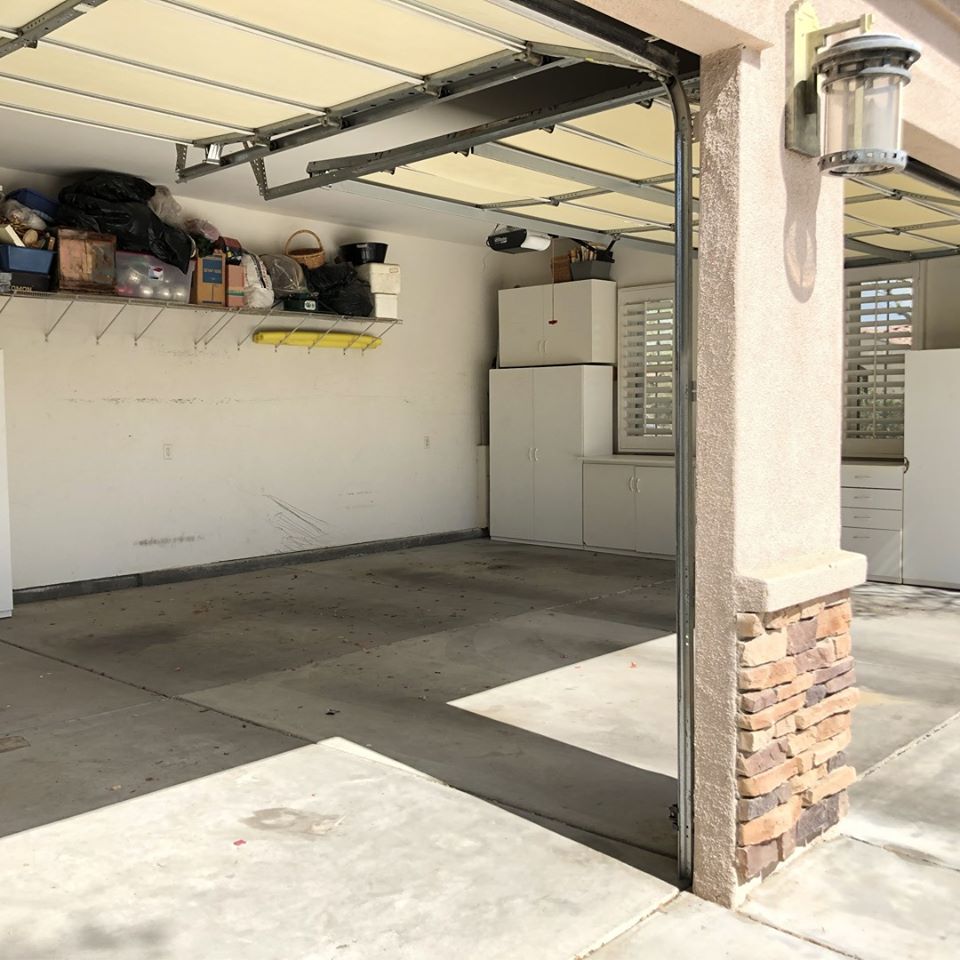
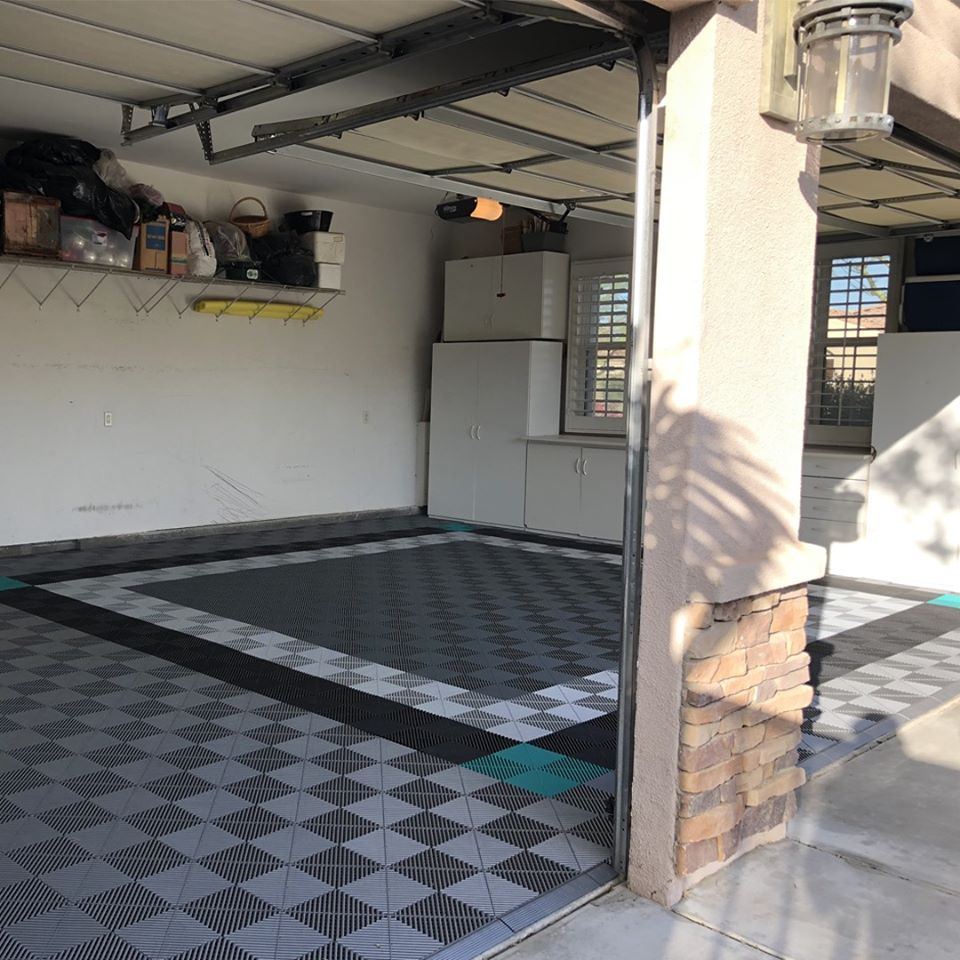
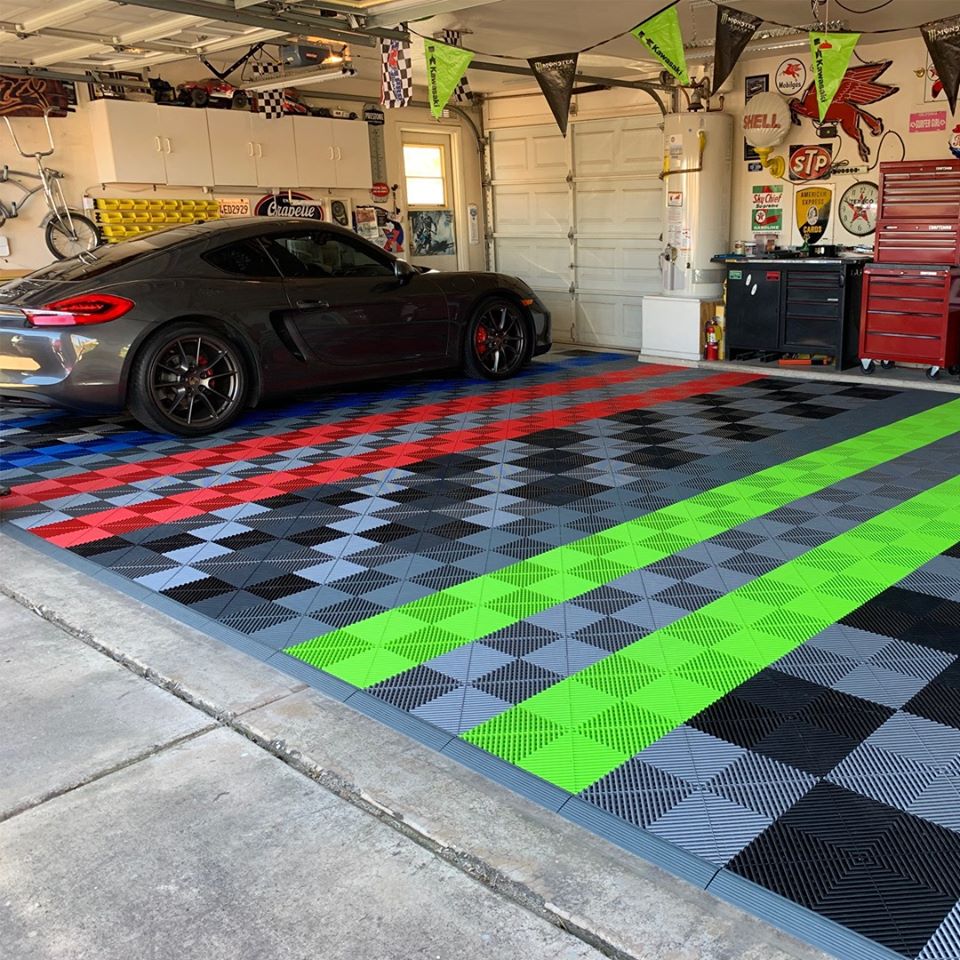
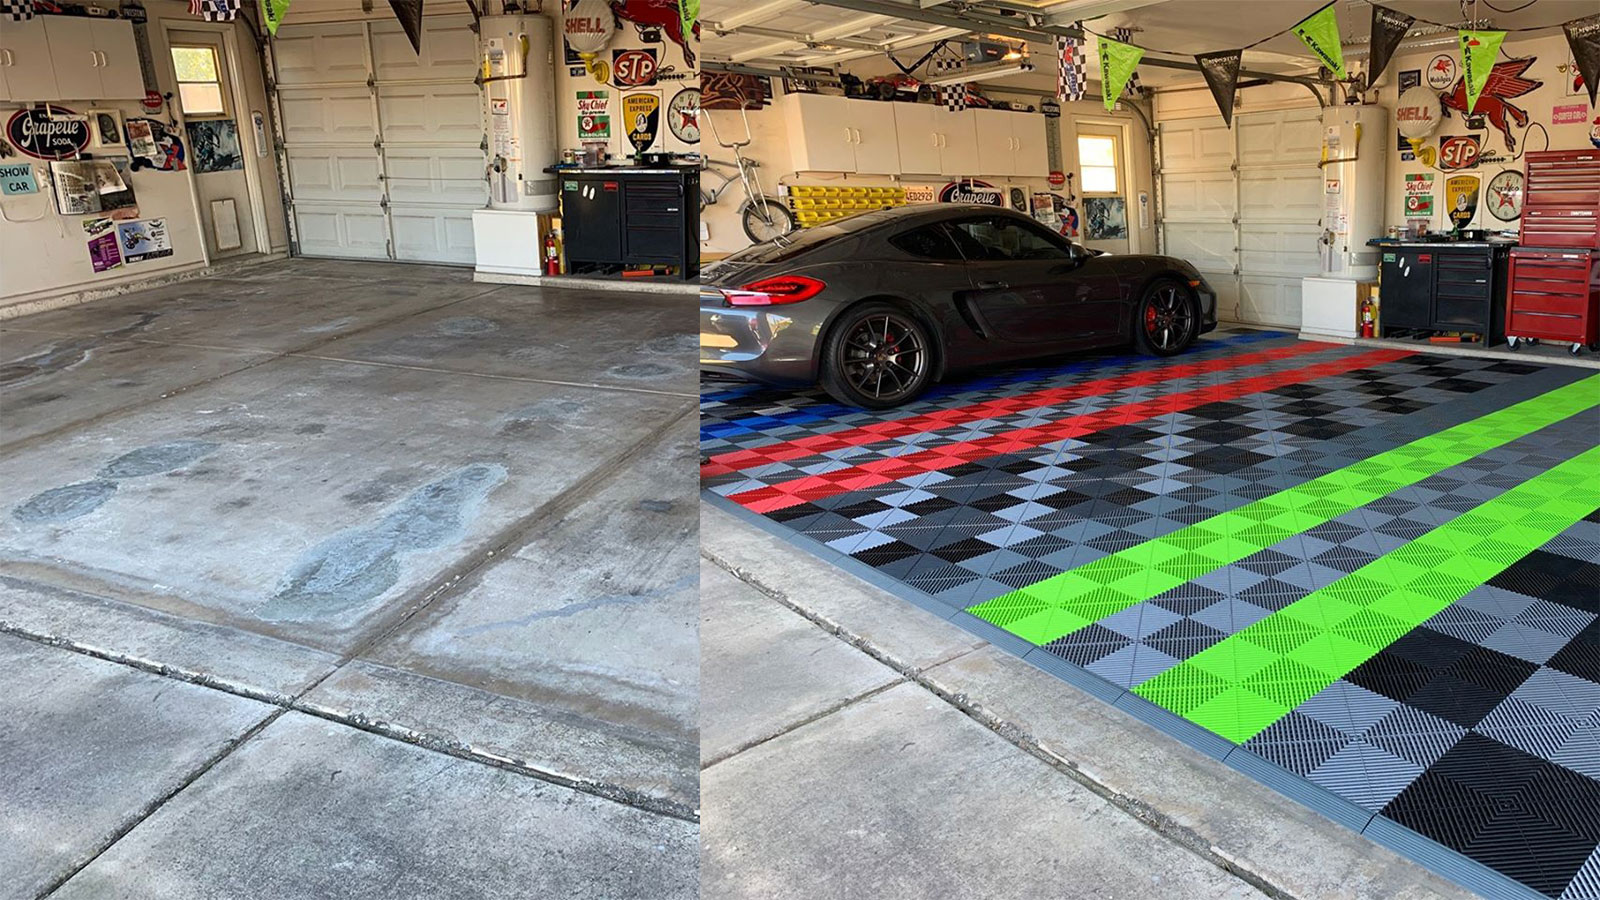
GARAGES
| Typical Dimensions (Width x Depth) | Door Width | Tiles* | Edges (Looped) | Corners | |
| One Car | 14’ 0” x 20’ 0” | 9' 0" | 176 | 7 | 0 |
| Two Car | 20’ 0” x 22’ 0” | 16' 0" | 272 | 13 |
0 |
| Three Car | 32' 0" x 22' 0" | 16' 0" & 9' 0" | 425 | 20 |
0 |
| Four Car | 36' 0" x 22' 0" | 16' 0" & 16' 0" | 476 | 20 |
0 |
*Please complete your own measurements to ensure you have the proper amount of tile. Each garage space will require tiles to be cut to install wall to wall. Specialized designs or layouts may require additional tiles. Please contact info@autoinspirations.com for assistance.
Modular Floor Designer Tips
We hope you find the designer a great asset and your ability to create your incredible modular floor.
As an overview in the lower right you can change between 2D and 3D views of your space and floor. It also allows you to zoom in on the design as well as go backward or forward on your design if you make a mistake.
- Click Garage Layouts
- Select overall dimensions
- Select free-standing pad or wall to wall
- Select your basic layout
- Drag & Drop garage door to appropriate location
- Move until in approximately correct spot
- Click small red X if you need to delete
- Click Floor Designer
- Select Tile Style
- Select either Patterns or Custom Design
- If using Patterns, you can drag your color to the floor to change colors
- There is a reset button to go back to the original if needed
- If using Custom Design, this places individual tiles on your floor. You can mix and match Pro Tile styles.
- Click the tile style and color you would like, the click the square on the floor for that color. To fill a wider space, hold down the mouse button and drag.
- Select Edges & Corners
- The color you select will automatically fill in your transitions (ramps) at your garage door for wall to wall or the perimeter for a free-standing pad.
- For garage door transitions you will always use LOOPED edges.
- If a pad, then you will use LOOPED on two sides and PEGGED on two sides.
- Cabinets, Furniture and Vehicles are all optional and intended for illustrative purposes only.
- Request a Quote or Print Your Design
- Will prompt you for some required information, complete and we will get a quote right back to you or print until you are ready for a quote.
- When you print it will provide you with a tile, edge, and corner count. You may also take this information to enter on the site and purchase right away.
If you have any concerns or questions, please reach out to us. That is what we are here for.